Choosing the Right Graduation Girls Celebration 3D Papercut for Your Project
Creating a memorable keepsake for a graduation requires balancing sentimentality with visual impact. For crafters exploring dimensional paper art, the Graduation Girls Celebration 3D Papercut offers a specific approach to capturing this milestone. Unlike flat greeting cards or standard printed photos, this design utilizes a layered shadow box technique to create depth and narrative. Understanding whether this specific template fits your skill level, available tools, and intended display method is essential before beginning your project.
This article evaluates the characteristics of this 3D papercut design, compares it to alternative crafting methods, and outlines the practical considerations needed to execute the project successfully. Whether you are an experienced paper engineer or a hobbyist looking for a meaningful gift, analyzing the tradeoffs between digital templates and hand-drawn designs, as well as machine cutting versus manual techniques, will help you make an informed decision.
Understanding the Layered Shadow Box Approach
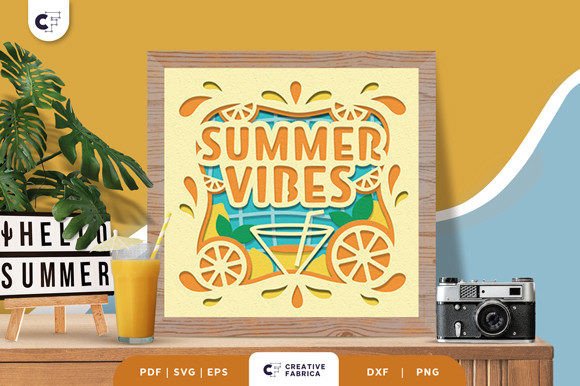
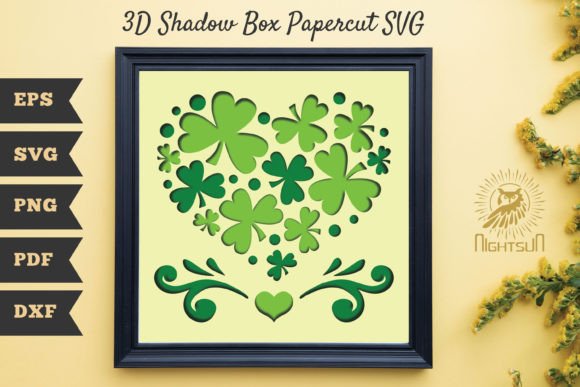
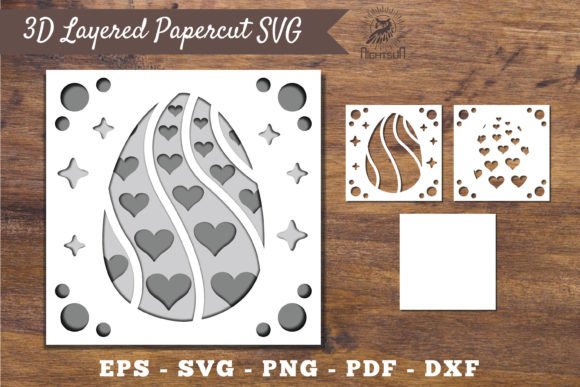
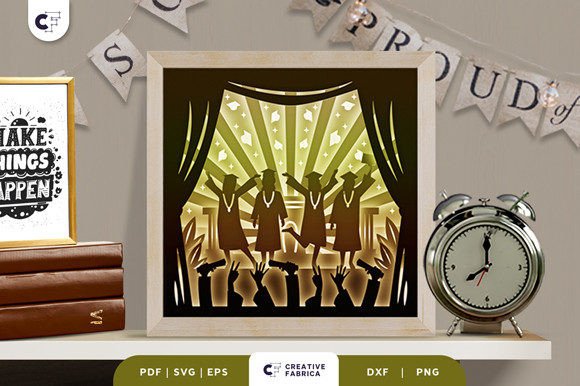
The core appeal of the Graduation Girls Celebration 3D Papercut lies in its construction. This is not a single-sheet cutout but a composite image built from six distinct layers. When assembled, these layers create a parallax effect, giving the illustration of graduating students a tangible sense of space. The design typically features foreground elements like caps and gowns, mid-ground details such as diplomas or confetti, and background framing that directs the viewer's eye.
What makes this format distinct from other graduation crafts is the interplay of light and shadow. In a traditional two-dimensional card, depth is simulated through shading or perspective drawing. In this 3D shadow box format, depth is physical. The spacing between the layers—usually achieved using foam adhesive squares or folded cardstock strips—casts real shadows that change depending on the viewing angle and lighting conditions. This dynamic quality makes the piece suitable for both static wall display and illuminated light boxes.
The template is designed with a square aspect ratio, specifically sized at 20.32×20.32 cm (approximately 8x8 inches). This dimension is strategic; it fits standard small frame sizes readily available at craft stores, yet it is large enough to showcase intricate details without becoming unwieldy during assembly. For those considering custom sizing, the included SVG files allow for resizing, provided the aspect ratio remains constant to prevent distortion of the layered alignment.
Evaluating File Formats and Cutting Methods
One of the primary decision points for crafters is the method of production. The Graduation Girls Celebration 3D Papercut template is typically distributed in a suite of file formats: SVG, PDF, EPS, PNG, and DXF. Each format serves a different workflow, and choosing the right one depends on your equipment.
- SVG and DXF: These are vector-based files essential for electronic cutting machines like Silhouette Cameo or Cricut Explore. They provide precise cut lines that ensure every layer aligns perfectly. If you own a cutting machine, these formats significantly reduce production time and improve accuracy, especially for the intricate inner cuts often found in hair details or gown folds.
- PDF and EPS: These are ideal for printing. If you do not have a cutting machine, you can print these files directly onto cardstock. The PDF usually includes registration marks or guidelines to help you cut manually.
- PNG: While primarily a raster image format, high-resolution PNGs can be used for tracing or as a visual reference if you prefer to freehand your cuts, though this is less common for multi-layer projects requiring precision.
Comparing machine cutting to manual cutting reveals important tradeoffs. Using a silhouette or Cricut machine offers speed and consistency, which is crucial when cutting six separate layers that must stack perfectly. However, it requires an initial investment in hardware and software. Conversely, using an art knife and scissors involves no equipment cost but demands a higher degree of patience and steady hands. Manual cutting allows for on-the-fly adjustments to the design but increases the risk of tearing delicate bridges in the paper, particularly in the thinner sections of the template.
Material Selection and Structural Integrity
The success of any 3D papercut project hinges on material choice. The weight and texture of the paper determine how well the layers hold their shape and how crisp the shadows appear. For the Graduation Girls Celebration 3D Papercut, the recommended standard is 80 lb cover (216 gsm) cardstock, such as Encore Cardstock. This weight provides a balance between flexibility and rigidity.
Using paper that is too light, such as standard printer paper (20 lb), will result in a flimsy structure where layers may sag or buckle under the weight of adhesives. Conversely, paper that is too heavy, like watercolor board, can be difficult to cut cleanly, especially for manual crafters, and may create overly thick stacks that do not fit within standard deep-frame dimensions.
Color selection also plays a pivotal role. While the template files are monochromatic outlines, the final aesthetic is defined by the cardstock colors chosen. Crafters often opt for a monochromatic scheme (e.g., varying shades of blue) to emphasize the silhouette effect, or a realistic palette to mimic actual graduation attire. It is important to note that lighting sources can alter the perceived color of the paper. A warm LED strip inside a light box will cast a yellowish hue, potentially muting cool tones, while natural daylight will reveal the truest color of the stock.
Display Options: Framed Art vs. Illuminated Light Boxes
Once assembled, the presentation of the Graduation Girls Celebration 3D Papercut offers two distinct pathways, each with its own set of requirements and visual outcomes.
Traditional Framed Wall Decoration
Mounting the layers in a deep shadow box frame creates a classic piece of wall art. This approach relies on ambient room lighting to create natural shadows between the layers. The advantage here is simplicity; once glued and framed, the piece requires no power source and is low maintenance. It works well in hallways, offices, or living rooms where it can be viewed from a distance. The limitation is that the depth effect is most pronounced when viewed from a slight angle rather than head-on, and fine details may get lost in dimly lit rooms.
LED Light Box Conversion
Transforming the template into a light box introduces a dramatic element. By inserting LED strips between the layers or behind the backmost layer, the paper becomes translucent, glowing softly. This method highlights the negative space and intricate cutouts, making it an excellent nightlight or centerpiece for a graduation party. However, this approach requires additional planning. You must ensure the frame is deep enough to accommodate both the six paper layers and the wiring/battery pack. Furthermore, the density of the cardstock matters; 216 gsm paper blocks more light than thinner stocks, so you may need to experiment with the brightness of the LEDs or use a slightly lighter weight paper for the inner layers to achieve the desired glow.
When This Template Is the Right Choice
The Graduation Girls Celebration 3D Papercut is an optimal choice when you need a personalized, high-impact gift that feels handmade but benefits from professional design structure. It is particularly well-suited for:
- Group Gifts: Because the design features multiple figures, it can represent a cohort of friends graduating together, making it more inclusive than a single-portrait commission.
- Intermediate Crafters: Those who have mastered basic card making and are ready to tackle spatial reasoning and layering without designing the artwork from scratch.
- Time-Constrained Projects: Since the design work is done, the crafter can focus entirely on execution. With a cutting machine, the entire physical creation process can be completed in an afternoon.
However, this may not be the best option if you require a fully customizable character likeness. As a pre-designed template, the facial features and general poses are fixed. If your goal is to replicate a specific photograph of a graduate with exact accuracy, a custom commission or a photo-transfer technique might yield better results. Additionally, if you lack access to deep frames (typically 1.5 inches or deeper) or are uncomfortable working with small, delicate paper parts, the assembly process could prove frustrating.
Making the Final Decision
Selecting the right crafting project involves weighing the desired outcome against available resources. The Graduation Girls Celebration 3D Papercut stands out as a versatile resource that bridges the gap between digital convenience and tactile artistry. Its strength lies in the structured layering system that guarantees a professional look, provided the assembly is handled with care.
Before proceeding, consider your workspace and tools. Do you have a cutting machine, or are you prepared to spend time with an X-Acto knife? Do you have access to 80 lb cardstock in your preferred colors? Are you aiming for a subtle wall hanging or a glowing light feature? Answering these questions will clarify if this template aligns with your goals. For those seeking a balance of creative engagement and reliable results, this layered approach offers a rewarding way to celebrate academic achievements, resulting in a heirloom-quality piece that captures the excitement of graduation day in three dimensions.